BEAUTY BY ELIZABETH FAYE

......


October 29, 2014

Cupcake Halloween Costume


Weren't sure what you wanted to be this year? This has to be the yummiest of Halloween Costumes, this could even be a couples costume if you paired it with a cute Bakery Chef. 

Get your party hats out people! 


1. A party hat
2. Hot glue gun
3. Cotton Balls
3. Colored paper
4. Scissors 

1. Cut a party hat into one thirds
2. Stretch cotton balls to be fluffy 
3. Glue cotton balls onto party hat
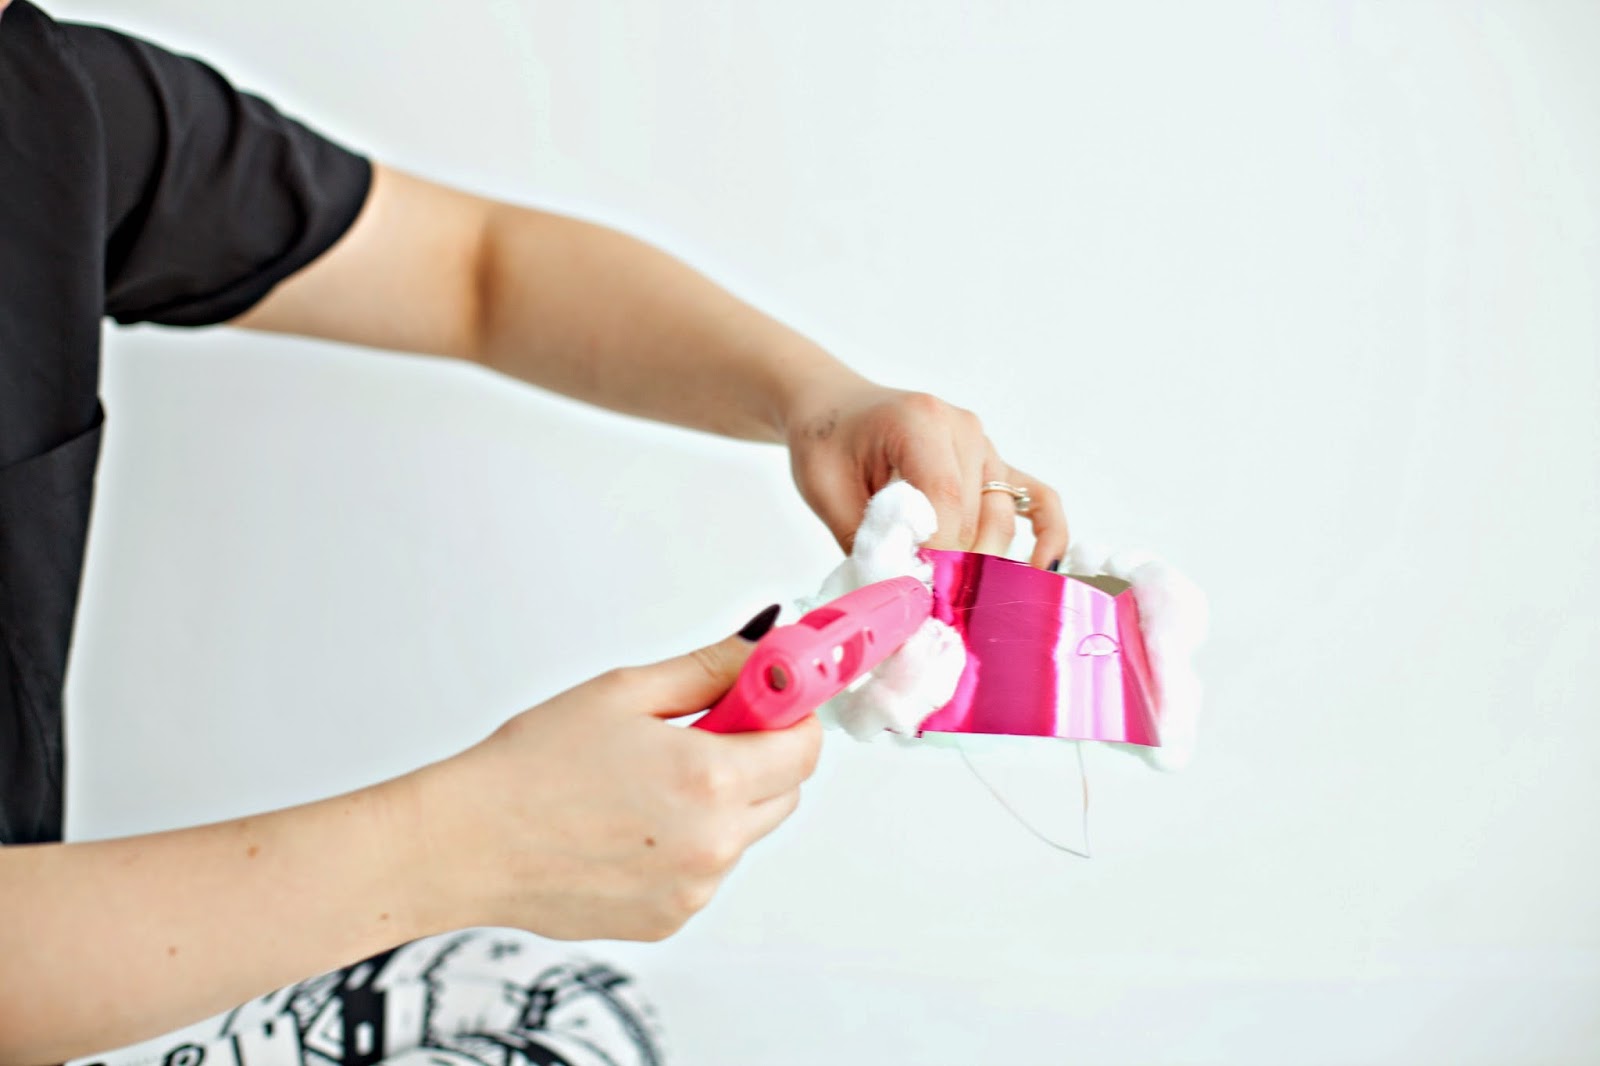
3. Cut sprinkles from colored paper of choice 
4. Glue sprinkles onto cotton balls
5. Put hair into top knot
6. Place party hat over bun and pull bun through 
7. Cut out a green cherry stem
8. Bobby pin stem onto bun (cherry) 


Learn how to do your own sprinkle eyeshadow- HERE
How to get the your top knot red- HERE


Happiest of Halloweens to you!


 photo elizsig3_zps8581c691.jpg

How to get your Hair Red for Halloween


In order to be the cutest cupcake in the land you have to get your top knot RED! I am going to give you a few ways to go about getting that cherry on top. 


So if you are a blondie then , lucky you . All you need is temporary Halloween spray. 
I suggest putting your hair into a top knot and then putting a hole into a grocery bag just big enough for you top knot to get through. This will help keep the spray ONLY on your top knot. 


If you are NOT a blondie then you will need hair chalk. Any hair chalk will work but I used THIS ONE   I bought mine at Salon Centric and your hairstylist should be able to hook you up with this bad boy. Or you can always head over to an Ulta or Sephora and get something fancy! 


1. Dry hair
2. Clips for sectioning 
3. Hair Chalk
4. Blowdryer 
5. Gloves
6. Something to protect your clothes 


1. Apply 
2. Smudge into hair and work through ends
3. Blow dry in 
4, Put your hair in a top knot & be a cupcake 


Hair chalk last from 2 -10 washes. I know that's vague but really it is different for everyone. 

Another alternative to this is to go to Sally's Beauty Supply and get the red synthetic hair. It is very inexpensive and you go just wrap it around your top knot and bobby pin into place. 


DISCLAIMER : YOUR HAIR WILL FEEL LIKE CHALK (DUH) BUT FOR REAL CHALK DOESN'T FEEL LIKE SILK! 


 photo elizsig3_zps8581c691.jpg

October 26, 2014

Sprinkle Eyeshadow Tutorial


Prepare yourself for the cutest thing you have ever seen. I may or may not have squealed with joy when I tried this for the first time. Okay actually, let me paint you a picture. It is August (yes, I have been Halloweening since then) and I am in the living room trying to figure out what will make sprinkles stick to my eye. I finally figure out what works best and I run into the bedroom to show my husband how clever I am. Mind you, I am in my jammies and have no makeup on EXCEPT sprinkles! He responds by shaking his head and saying, "Ooooh hell, babe!". 
Due to his lack of excitement, I questioned the coolness of this tutorial but I am pretty much obsessed with it and wish I could go grocery shopping with sprinkle eyeshadow on. Being a product junkie and party enthusiast, this little tutorial is what my perfect worlds colliding looks like. I hope it makes you as giddy as it makes me.


 SPRINKLE EYESHADOW!!!


Inline image 2
1. The magical glitter glue, Urban Decay's Bondage 


2. Traditional Rainbow Sprinkles from your local Grocery Store

3. A Birthday Party, Halloween Party or Fab Event to attend ! 


Inline image 3

1. Apply Bondage heavily to your eyelid, you can apply with or without makeup on. I will say, it works a bit better applied to a clean eyelid. 

2. Pour sprinkles into your hand while the product is wet. 

3. Smudge the sprinkles onto your eyelid and clean up by wiping away any stray sprinkles. 

4. Top off with some pink or red lip stick and maybe go throw some confetti! 


So if you loved this...be a doll and pin it for me! Thanks babes xoxo I love you for reading my crazy holiday tutorials. 


Photo credit: Amie Pendel


 photo elizsig3_zps8581c691.jpg
Powered by Blogger.
Designed By Boutique-Website-Design