BEAUTY BY ELIZABETH FAYE

......


Showing posts with label holidays. Show all posts

December 8, 2014

The 12 Braids of Christmas, The 1st Day of Christmas


Hello loves, for the holidays I decided to document 12 of my favorite braids & up do styles and teach you how to re-create them. Today is Day One of the "12 Braids of Christmas". I hope you can rock some of these braids this season, be sure to share if you like it, or comment below and ask me any questions you may have. All of these looks are styles I have created and come up with myself and some are a bit on the messy/funky side. Sometimes I get burned out of the usual so I am trying to switch it up a little bit. Go ahead and subscribe to my channel  so you can get the videos coming straight to your inbox.  Merry Christmas!!!


 photo elizsig3_zps8581c691.jpg

December 1, 2014

Skin Care Basics


At least for me I didn't start thinking about my skin until I was about twenty (AND I WORKED IN A SALON!!!!!!!). That is bad if you couldn't tell.  The truth is that we need to start taking care of our skin once we hit puberty. Yes, that means roughly 11-14. I was lucky as a pre-teen/teenager to have "pretty good" skin so I got away with washing my face with body wash (I am cringing now). Anyways I wanted to share some basic skin care tips that you can use at any age and to stress how important it take the 10 minutes a day to care for your skin.

Thankfully I have the best and cutest esthetician around (Josie from La Via Med Spa) to help teach me....so now I am going to teach you. All of these are affordable!


The best time to start preventing anti-aging is your early to mid 20's (yikes I know!)


 Wear sunglasses all the time, especially when you drive (to help prevent crows feet)
 Make sure your makeup or moisturizer has SPF in it, FREAKING SUN SCREEN DAILY LADIES!


You can exfoliate a lot more than you think. Josie & I both like to exfoliate every night  before bed to get all the makeup off and then I use a night cream. Not everyone can get away with exfoliating so much, but it's worth a try. It just might be what helps keep away the black heads & annoying break outs. Make sure you are using a gentle exfoliant- here is an affordable option that I like


 Elevate your pillow it will help with under eye bags. If your head is elevated all the blood isn't rushing to your face so you won't be puffy and bloated in your face. 


 Another little tip is to help with those stubborn black heads...steam a pot of water and put your freshly washed faced over the steam to help open upon and loosen stubborn pours then use a pair of exfoliating gloves and rub the gloves over those trouble spots to exfoliate. Typically those areas would be your nose, chin, cheeks and forehead ...so basically your whole face !

  
I recently tried out a Beauty Box from Modere with lots of lovely skin care goodies and ALL affordable. If you are trying to stay in a budget and take good care of your skin I would go one of two routes. Start with some sort of starter kit or buy your basics then add on as you go. 

Basics
*Cleanser- here
*Moisturizer -this is what I use (and I freaking LOVE IT )
*Exfoliant (I would use a gentle exfoliant unless a professional recommends otherwise)-here

The beauty box didn't come come with a moisturizer or a daily cleanser so this would be better for someone who already has their basics and is looking to start preventing aging. I fall into that category. 

The box included
*anti-aging serum (LOVED) 
*antioxidant gel
*hair serum (LOVED) 
*dual action eye gel 
*gentle exfoliant (LOVED)
If you need one, want one, gotta have it hahaha  -then click here

A skincare collection that is better suited for everyone (pre-teen on up ) would be - THIS
I think that is a GREAT place to start and you can't beat that price. I have bought night creams more expensive than that whole collection combined...but for real tho! I love that it is an all natural product for drug store prices. 
For this baby- click here girl!


Heads  up! You do have to make an account to get the stuff but don't worry...it's not over spammy or anything and it's quick, I promise. 
To get a discount enter this promo code 978363
You will get 25 off 100 
or off 50 and FREE SHIPPING 

If you have questions about certain products you can contact my friend Ginny (435-749-0202) she knows about all the products. I have only tried some of them. Anyways, Happy Cyber Monday Babes!


 photo elizsig3_zps8581c691.jpg

October 26, 2014

Sprinkle Eyeshadow Tutorial


Prepare yourself for the cutest thing you have ever seen. I may or may not have squealed with joy when I tried this for the first time. Okay actually, let me paint you a picture. It is August (yes, I have been Halloweening since then) and I am in the living room trying to figure out what will make sprinkles stick to my eye. I finally figure out what works best and I run into the bedroom to show my husband how clever I am. Mind you, I am in my jammies and have no makeup on EXCEPT sprinkles! He responds by shaking his head and saying, "Ooooh hell, babe!". 
Due to his lack of excitement, I questioned the coolness of this tutorial but I am pretty much obsessed with it and wish I could go grocery shopping with sprinkle eyeshadow on. Being a product junkie and party enthusiast, this little tutorial is what my perfect worlds colliding looks like. I hope it makes you as giddy as it makes me.


 SPRINKLE EYESHADOW!!!


Inline image 2
1. The magical glitter glue, Urban Decay's Bondage 


2. Traditional Rainbow Sprinkles from your local Grocery Store

3. A Birthday Party, Halloween Party or Fab Event to attend ! 


Inline image 3

1. Apply Bondage heavily to your eyelid, you can apply with or without makeup on. I will say, it works a bit better applied to a clean eyelid. 

2. Pour sprinkles into your hand while the product is wet. 

3. Smudge the sprinkles onto your eyelid and clean up by wiping away any stray sprinkles. 

4. Top off with some pink or red lip stick and maybe go throw some confetti! 


So if you loved this...be a doll and pin it for me! Thanks babes xoxo I love you for reading my crazy holiday tutorials. 


Photo credit: Amie Pendel


 photo elizsig3_zps8581c691.jpg

October 24, 2014

Disco Ball Halloween Makeup Tutorial


I'm sure you have been getting into the Halloween Spirit by dashing around trying to find affordable costumes for the kiddos, but don't forget something fabulous for yourself. What is more fabulous than a Disco Ball? I am thinking easy, cheap and glam. This simple costume can be paired with anything sparkly, metallic or disco inspired. I chose metallic because honestly, that's what I had in my closet! 

Shirt can be found -here


1. Glitter 
2. Hot Glue Gun 
3. Medium Foam Ball 
4. Shampoo Clips from Sally's 
5. One small piece of felt


1. Pour glitter into a bowl 
2. Cut the bottom of the foam ball off to create a flat edge
3. Apply hot glue to foam ball and dip into glitter
4. Cover the entire foam ball in glitter (besides flat edge) 
5. Cut a piece of felt about the same size as the shampoo clip
6. Hot glue the piece of felt to the inside of the clip sides
7. Hot glue the side that has felt on it to the flat edge of the foam ball
8. Now you have created a disco ball hair clip, wear it on top, side or intertwined in an updo


The secret to this look is Urban Decay's Bondage Glue. Never fear you can use this baby again. Ever wanted to copy one of those stunning glitter eyed tutorials off Pinterest but you just couldn't get your glitter shadow to stick? Well Ta-Da, all your glitter eyed dreams have come true. Another fun way to use this is to place Bondage glue under your lash line and pack a bit of glitter in the corner of your eye and under your lash line. Just saying!  (Link to product - http://www.urbandecay.com/bondage-weightless-makeup-adhesive-by-urban-decay/604214921993.html )


Apply heavily onto eyelid. One little tip- you can apply over makeup BUT I found out that it stays best when applied without makeup. 


Pour a glitter into the palm of your hands. I picked silver and white glitter from my local craft store but you can choose any glitter you like for this look (I suggest that you choose a chunky glitter). You can even use silver sprinkles!


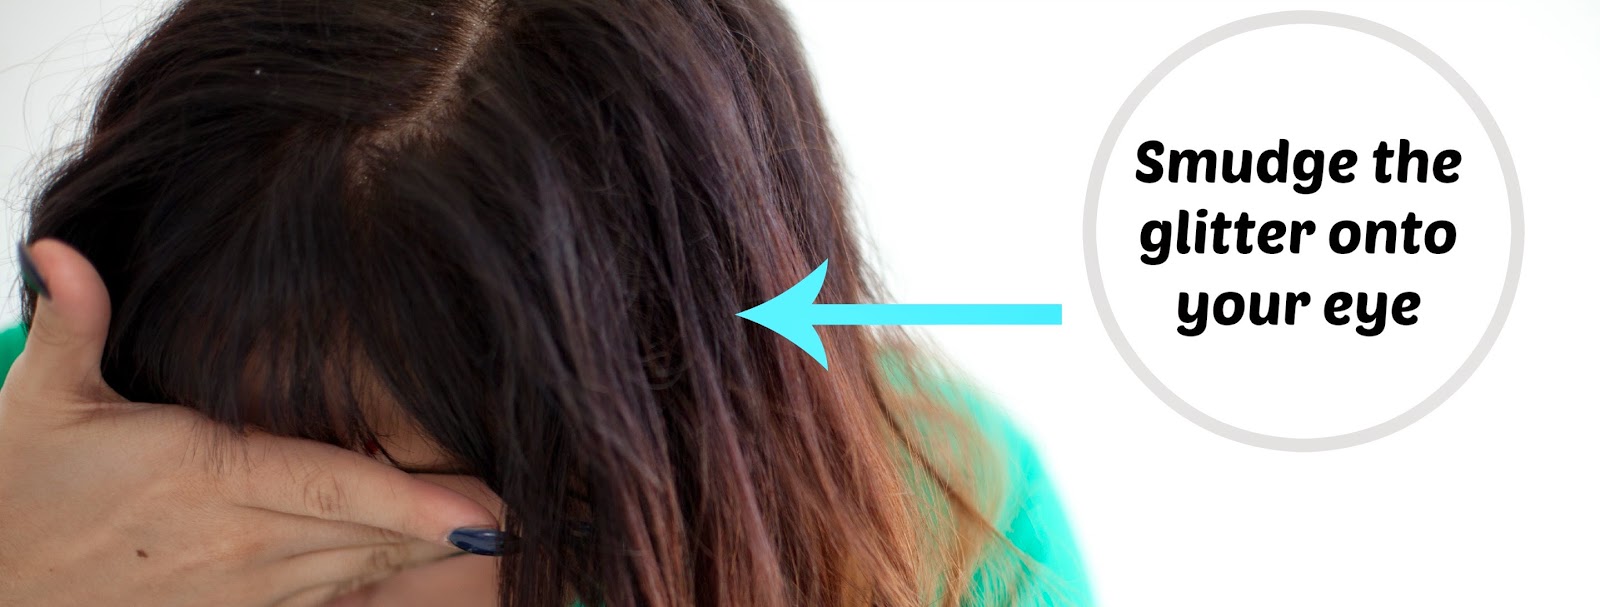
Then Smudge glitter onto your eyelid, it is as simple as that!  Disco on babes! 


 photo elizsig3_zps8581c691.jpg

October 23, 2014

A Golden Halloween Party // DIY Ghost Garland

Lately I have been posting a lot more party stuff rather than beauty, it is only because I LOVE HALLOWEEN!!! I promise some adorable hair/makeup costumes are coming. Anyways here are some fun ideas. I am a tassel freak , I LOVE LOVE tassels so I thought how could I make this sparkly tassel a bit spooky? Then I realized these adorable white tassels kind of look like ghost...well if they had adorable ghost faces! 


1. Black craft paint
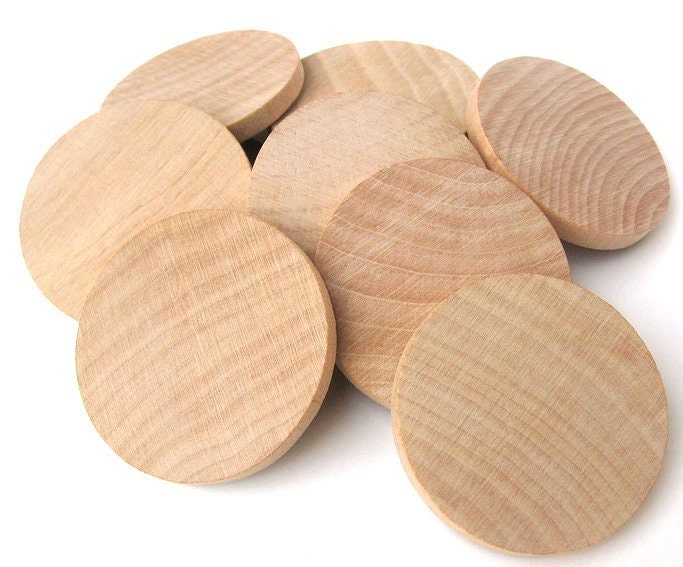
2. Wooden circles
3. White spray paint
4. Paint Brushes 
5. Hot glue gun


1. Take your tassel and hang it up somewhere so you can put some space between each tassel 
2. Spray paint the wooden circles (I did two coats)
3. Free hand paint ghost faces anyway you like
4. Put a dot of glue onto the tassel (below where the tassel is strung on the string, or your tassels with be glued to the string) 
5. Get creative and display! 

Here is a good tutorial on how to make your own tassel -click here
Or buy one from the Queen of tassels -click here


Photo Credit: Amie Pendel
Party Planner : Laura with Forevermore Events


 photo elizsig3_zps8581c691.jpg

October 12, 2014

DIY Candy Corn Garland//Halloween


This is an easy Halloween idea that can be reused year after year. I am NOT good at sewing but this is a project that will look cute even if it's not perfect, trust me! It is really easy, cheap and adds a pop of color!

*Felt
*Hot glue gun
*Sewing machine 


*I traced two triangles on card stock.
* The first triangle I kept as a guide to trace more triangles on my orange felt.
*Then with the second triangle I cut into three segments (like a candy corn).
*I used the top and bottom segments of the triangle to be my guide for tracing on my white and yellow felt.
*I hot glued the tips and ends of my candy corn together with a hot glue gun (be sure not spread your glue out evenly so it is easy to sew through).
*Then I sewed my garland together, TADA!!!


 photo elizsig3_zps8581c691.jpg
Powered by Blogger.
Designed By Boutique-Website-Design